Get started
Learn how to edit your projects on Nuxt Studio.


Create your project
To begin, you need to create a project. You can explore the documentation to learn about the different project types.
You can create a project in your personal account or in a team if you want to collaborate.
Once your project has been initialized and synchronized with GitHub, you will access the project setting page. From this page, you'll be able to deploy your website or simply set your existing deployed url.
Requirements to use the Studio editor
@nuxthq/studio module
To access the Studio editor for a self-hosted deployment, you need to add our Studio Module to your project. You can do this by cloning your repository and adding the module from an external IDE.
Open a terminal within your repository folder and execute the following command:
npm i -D @nuxthq/studio
Once installed, add the module to your nuxt.config.ts file:
export default defineNuxtConfig({
  modules: [
    '@nuxthq/studio'
  ]
})
Verification token
For self-hosted deployments, we need to verify that you own the domain. We accomplish this by using a verification token, which is a unique public token associated with your project. You can find this token in the deployment block within the self-hosted section (refer to the image below).
To set the verification token, you need to define the NUXT_PUBLIC_STUDIO_TOKENS environment variable and assign it your verification token. You can add multiple tokens separated by commas.
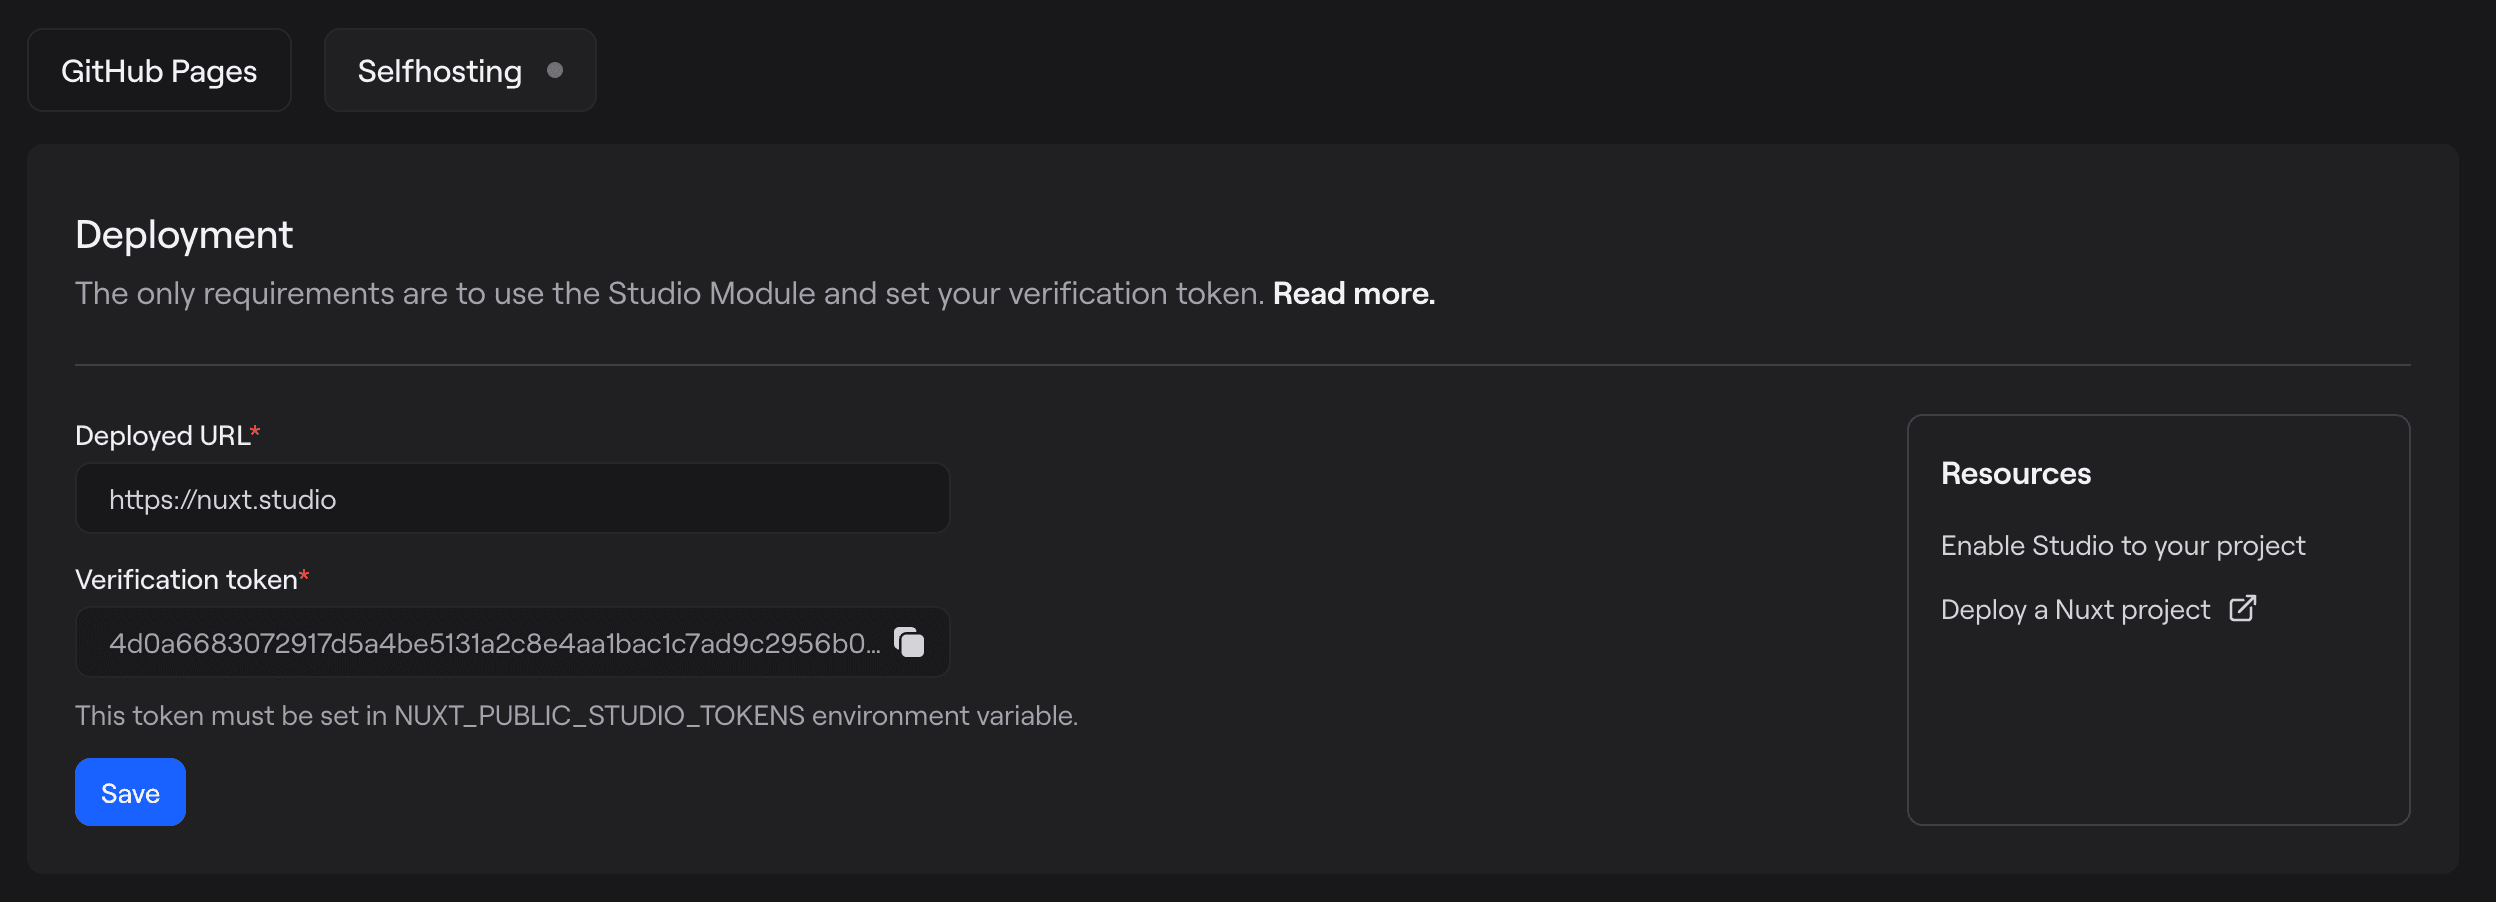
Once the requirements are met and your website is deployed, you will be able to enter the deployed URL and save it.